
- Sky
- Blueberry
- Slate
- Blackcurrant
- Watermelon
- Strawberry
- Orange
- Banana
- Apple
- Emerald
- Chocolate
- Charcoal


Molinko
-
Content Count
451 -
Joined
-
Last visited
-
Days Won
35
Posts posted by Molinko
-
-
Take a look at skex bios by shadowcat. Its a small bios for microcontrollers with an event system api built in. Works well enough. Or if you're up to it you should have access to the computer api with pullSignal and pushSignal for event binding
-
It might be that when unbinding, the previous screen is clearded...
-
Would someone mind showing me a basic example of using Magik6 network utility. Maybe a basic 3-5 node network demo??
or maybe just some sample api usage.. thx
-
the closest thing to what you want that is available is miniOS or even skex bios. both are smaller lightweight. skex is particularly great for microcontrollers
-
edit: i need to think about it
management script:
local arg = ...
local process = require "process"
local component = require "component"
local RF_BUFFER_MIN, RF_BUFFER_MAX, running = 1000000, 9000000, false
local REACTORS = {} -- // your list of reactors in the for loop of program
local thisProcess

if arg == "-s" then
  if running then error("program already running!") end
  -- // process.load will feed this programs environment or local scope to your program, thus,
  -- // defining component and rf buffer limits in here so we can change them if we get more complex later.
  thisProcess = process.load("pathToProgram")
elseif arg == "-i" then
 -- // yadda yadda
end

--
reactor bg program:
while running do
  -- // your code
  for _, reactor in pairs(REACTORS) do
    if reactor.getEnergyStored() >= RF_BUFFER_MAX then
      reactor.setActive(false)
      print("Reactor is offline")
    else if reactor.getEnergyStored() <=RF_BUFFER_MIN then
      reactor.setActive(true)
      print("Reactor is online")
    end
  end -- // end for / end your code
end -- // end while
i think this should work with a little testing and tweaking..
-
To simply make this loop run forever you can simply wrap up the current code in a while loop.
local component = require("component") --// just a tip. especially if running in the background,
-- if you're not sharing this variable with other programs... localize it..

local RF_BUFFER_MAX = 9000000
local RF_BUFFER_MIN = 1000000
local running = true -- set to false to kill the program

while running do
  -- your code
  for _, reactor in pairs(REACTORS) do
    if reactor.getEnergyStored() >= RF_BUFFER_MAX then
      reactor.setActive(false)
      print("Reactor is offline")
    else if reactor.getEnergyStored() <=RF_BUFFER_MIN then
      reactor.setActive(true)
      print("Reactor is online")
    end
  end -- end for / end your code
end -- end while
To run this in the background use the process api.
local process = require "process"
process.load("absolutePathToYourProgram",<>,<>,<>)-- '<>' arguments aren't necessary
With some tinkering your program could start the process when started with a certain argument and when the process is loaded you could ask the state of your running process with another call to the program with another flag. ie: yourProgram -s //starts the process in the background; yourProgram -i //prints the state info you want from your process; pass -k or something to kill the program
-
Part of the reason you can't detect newline characters is because your data variable will only ever be one char where the newline pattern is a 2 char string. As for the rest I don't see the point of reading files with a custom lua func. The java Scala background can do this better than the ingame lua interpreter.. Reason?
-
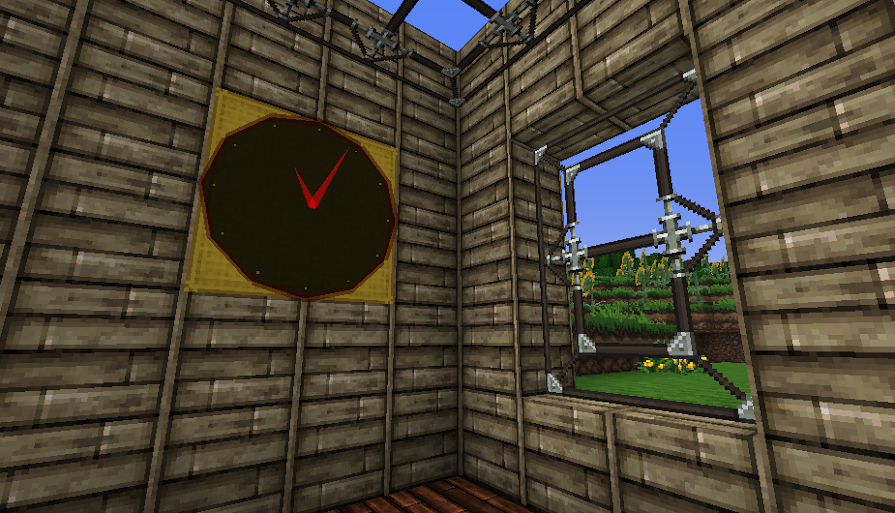
OpenGlasses Clock (working prototype) =)

This is awesome! Can i rip through you code for this??
-
-
But I would also prefer if they could access components.
Thanks I missed that part.
-
I noticed v 1.1. I really like the event functions you implemented. I've come upon a bug in skex.
1.insert code into buffer from client
2.execute the buffer
3.clear the buffer
4.re-enter insert mode and enter a line into buffer.
5.crash- dont know why...
Thanks for skex. I'm learning a lot from your stuff
-
Are microcontrollers not supposed to have access to adjacent components?? I have been truing to get the motion sensor to work with the microcontroller teirs 1 and 2 and neither seem to be up to the job? Is this intended? And if so, WHY :'( ?
Also, if it is a matter of balance. Could we maybe think of adding access to adjacent components if the microcontroller was built with a component bus? Similar to the old OC versions of computers or the current OC servers.
-
I like it! It took me a little while to figure out how to commit line changes and enter some working code but all in all this is fantastic!
I think ill write something similar but a bit more easy to use. Maybe just a proper client will do. Also adding a little more help on how to use all the functionality with some examples would be very helpful. Thanks for this
I made a small change to the client to fix a bug aswell.
local component = require("component") local event = require("event") local modem = component.modem local listen = function(evt,_,_,_,_,...) print(...) end -- here. -- helps when restarting the client to prevent event listener duplicates event.listen("modem_message",listen) -- and here. modem.open(2412) while true do local cmd=io.read() if not cmd then return end modem.broadcast(2412, cmd) if cmd == "q" then break end -- here too end event.ignore("modem_message",listen) -
Molinko
Age: 26
In-game name: Molinko
IRC: MolinkoI've been wanting to join a server with other programmers / aspiring programmers to help and learn more about programming and just to make cool stuff in general. K, thx, bye.
-
You want to look at the component GPU methods on the wiki. Particularly the GPU.set and GPU.fill methods
-
What are the minimum requirements to make a boot able medium. What files are required? Do they need a certain name? How do you go about making a very small shell and what is the minimum required to start that? Suggestions, tips, advice, halp... All welcome, thanks.
-
Your code actually is very concise and readable. Don't beat yourself with that crowbar.. I have a small button api I'll upload for you soon. At work ATM.
-
I think the problem might be in example 2 where the monitor is connected through the switch and a network cable from the same computer as said monitor is also connected to the switch. All component blocks act as network cable with the exception being power distributors, server racks on the internal setting, and 1 more thing I'm probably forgetting..
Let me know if I could be clearer..
-
happy to help. honored really. this map looks like you've bled for it
-
Slots are ordered 1,16 with one inventory upgrade. the first row being slots 1-4. crafting takes place in slots 1-3,5-7,9-11. The other slots are for the relevant materials to be used. the other nine slots remain open for valid crafting recipes
-
Look here for all the documentation on the screen and gpu components. Basically you will have to bind the gpu to the relevant screen you want to manipulate and call the functions available in the gpu library to manipulate the monitor for drawing and setting text.
i.e
local component = require "component"
local gpu = component.gpu -- you must have a gpu installed in your computer! This is the primary if there is more then one. It is bound by default to the fist screen it finds.

gpu.set( 1,1,"Hello world" )
gpu.fill(2,2,4,4,"+")
-
Hmmm. That is a problem huh.. The first idea I have would actually involve coroutines like you suggested so sorry for not answering your initial question directly.. Didnt mean to make you go through hoops for help.. It seems like you need a call and response stack of some sort to manage connections. Here is what I know about coroutines in lua..
-- coroutines are made with functions like so
local co = coroutine.create( function() print( "doing stuff" ) end )
coroutine.resume( co ) --> "doing stuff"
coroutine.resume( co ) --> "error: cannot resume a dead coroutine" --shit..

--[[ basically the coroutine will only live as long as the function that it was created from still has code to execute.
The first call to resume ran the function and now the function doesnt have anything else to run because it essentially returned nil.
]]

--If you want a coroutine to constantly run then your function will have to do the same and handle that.

co = coroutine.create( function( ... )
    local var = { ... }[1] -- just to try some stuff with
    while true do
      print( "doing stuff" )
      var = var + 1
-- here we can send data back to the caller of the coroutine via coroutine.yield
-- also the caller can inject data back into to the coroutine with the subsequent call to resume
      var = coroutine.yield( var )
    end
end )

local var = coroutine.resume( co, 5 ) --> "doing stuff" var = 6 now..
print(var)
local var = coroutine.resume( co, var*2 ) --> "doing stuff" var = 13 now...

--[[The first time we resume a coroutine it will be passed the arguments and  all the subsequent calls to resume will fall into our loop and be "returned" via our call to yield. Keep in mind we can yield all we want in our function.]]
The lua PIL on coroutines has done a way better job of explaining this the I have. But the best thing you can do is just experiment with some really simple coroutines until you understand the potential of how powerful both resume and yield can be.
-
It's coming
I currently stand in the shadows of Agrarian Skies, Blood 'n Bones, Crash Landing and M^3... and I've got a carefully-calculated roll-out campaign to challenge 'em all once I'm ready Even better! You sneaky wizard you... I cant wait to check it out, I noticed your holoogram handy work on another post and couldnt wait to get more details on what it was about. Lemme know if you wan beta testers or something
. Also, in the photo with the hologram and the two screens with "The breach"; will that hologram draw out the player created jaunt points?? -
This is frickin' awesome! If you're feeling up to it would you make a short video of your world and your program. They're both beautiful

special cable for network card
in OpenComputers
Posted
I like this idea.. Maybe a set of cables would be good, such as...
Network cable: only network messages would pass through.
Power cable: ...
Component cable: ...
Custom cables: any combination of cable in one. Made by crafting any or all types of base cables together in desired functionality.